
Installing Asterisk from source code on debian ubuntu 20.04/18.04
Installing asterisk From the Source Code :
We are installing Asterisk 13, But Select the latest version from the Asterisk Downloads page.
Install the Dependencies:
build-essential
ncurses-dev
libxml2-dev
libsqlite3-dev
libssl-dev (required in order to install Asterisk with chan_sip available)
uuid-dev
libjansson-dev
Install above dependencies with the following command
sudo apt-get install build-essential ncurses-dev libxml2-dev libsqlite3-dev libssl-dev uuid-dev libjansson-dev
Download & Install the Asterisk 13:
Download the latest stable version of Asterisk using wget.
wget http://downloads.asterisk.org/pub/telephony/asterisk/asterisk-13-current.tar.gz
Then Extract the Downloaded file.
tar -zxvf asterisk-13*
After extracting the Asterisk, Go to extracted asterisk folder, This is the root folder for our asterisk server, Then Run the below command to configure the asterisk.
./configure
If everything went well you will see one ASCII Art of Asterisk symbol like this.
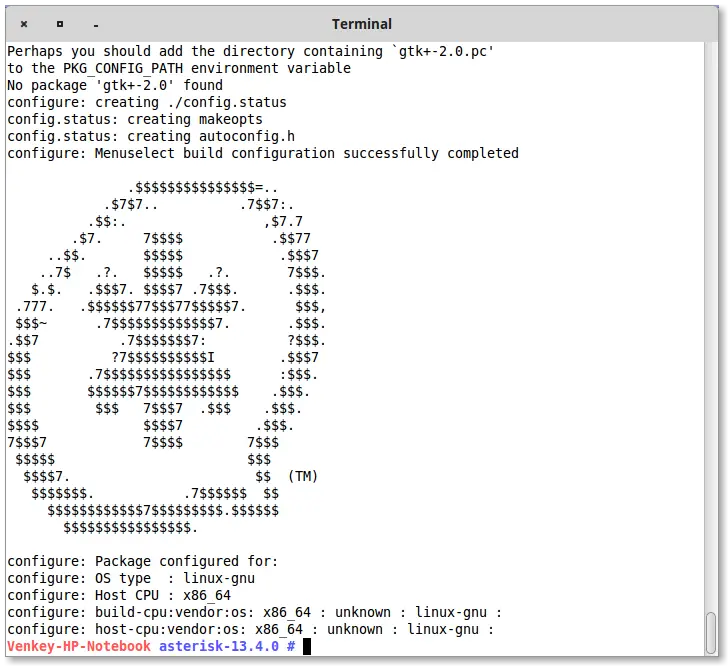
make menuselect
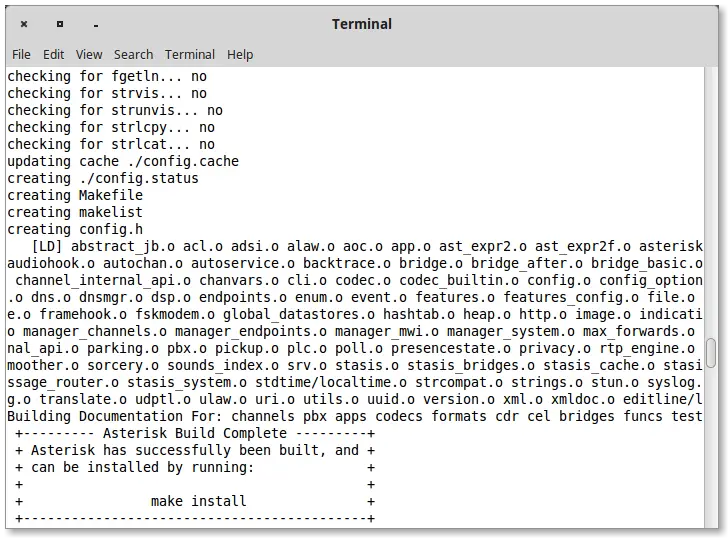
Now compile the asterisk server using following command.
make
make install
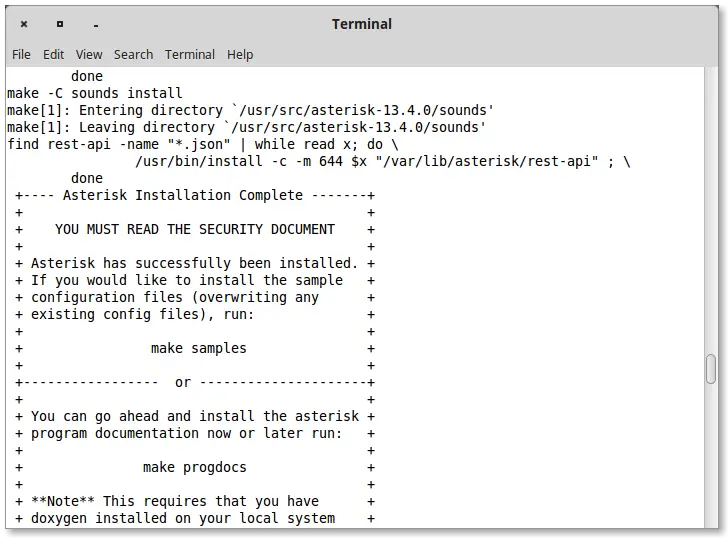
make samples
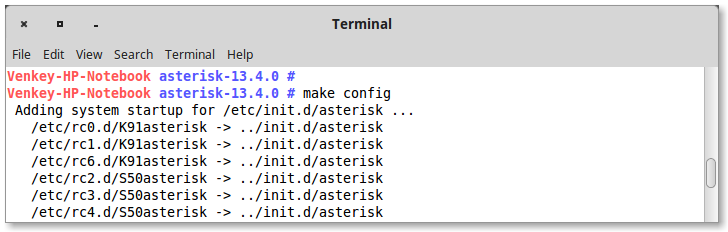
To run the asterisk on startup, and to generate init script run the following command
make config
Now asterisk is Installed on your system
You can control the asterisk using init script or using service command like below
Start :
service asterisk start (or)
/etc/init.d/asterisk start
restart :
service asterisk restart (or)
/etc/init.d/asterisk restart
stop :
service asterisk stop (or)
/etc/init.d/asterisk stop
Now restart the Asterisk server
/etc/init.d/asterisk restart
Check if the Asterisk is running or not using the following command.
ps -ef | grep asterisk
Connect to Asterisk Command line Interface (CLI) using following command
asterisk -cvvvdddr
Congratulations! you are successfully Installed Asterisk Communication Engine on your linux box. Go ahead and change necessary configuration files and try to make a test call between two endpoints.


1 Response
[…] Then try again running the Asterisk configure command. Most probably you will see beautiful Asterisk ASCII art. If you want to Install the Asterisk from the Source Please follow the below article. Installing Asterisk Open Source Communication Engine from Source Code. […]