
Step by Step guide to Install Ubuntu
Ubuntu 16.04 LTS is released on 21st April 2016. This is the sixth LTS (Long Term Support) version from Canonical, The parent company of Ubuntu operating system. It’s security updates and support will be for next 5 years.The Code name of Ubuntu 16.04 is Xenial Xerus and It is based on Debian Stretch.
Before starting the installation, Here are the few new features and Improvements of Ubuntu 16.04 LTS.
New Features of Ubuntu 16.04 LTS:
- Ubuntu Software Center is removed and replaced by Gnome Software.
- Unity 7.4 launcher still not Unity 8.
- ZFS File System is Included into Ubuntu but not active by default.
- Introduced Ubuntu Snappy Package
- The Unity Launcher Can Be Moved to the Bottom of Your Screen. Something like Windows.
- Online Results are turned off in the Dash.
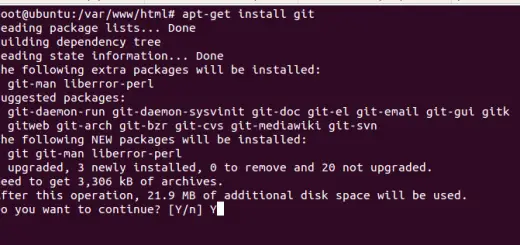
- We can now use apt instead of apt-get
There are more cool features and reasons to Install this brand new Operating system, I personally feel this is one of the best LTS so far. So without any delay let’s start the installation.
Now Let’s dive into the Step by step Installation guide of Ubuntu 16.04 LTS.
Downloading the ISO files :
You can download Ubuntu 16.04 ISO files from the ubuntu official website. Please follow the below link to download ubuntu 16.04.
If you’re a torrent fan, You can download it from torrent also. Here are the links for Official Ubuntu 16.04 Torrents.
you can also buy Ubuntu 16.04 USB sticks from the Ubuntu store.
Make Bootable DVD or Bootable USB :
Once the download is finished, Burn that ISO file into a DVD and make it as a Bootable DVD. You can also make it as Bootable USB also, by using software like PenDrive Linux. Now insert that DVD or USB reboot the system. Press F12 or desired button to enter into the boot menu change the boot order accordingly, I am using bootable USB so make sure you’re first boot device is correct. If everything went well you will see following screens.
Booting Into live Session :
Once it’s booted, Below screen will appear with following options. Language option, Choose your desired language and then it will also contain Try Ubuntu and Install Ubuntu options. Please see the below image for more details.

Try Ubuntu will take you to the live Ubuntu 16.04 session, This is good if you are not yet ready to install then you can boot directly into the live system using this options.
Install Ubuntu will start the actual Installation process. So select the desired option.
Preparing to Install :
Now we are entered into the Installation phase, Installer will ask you whether you want to install the third party packages and updates.
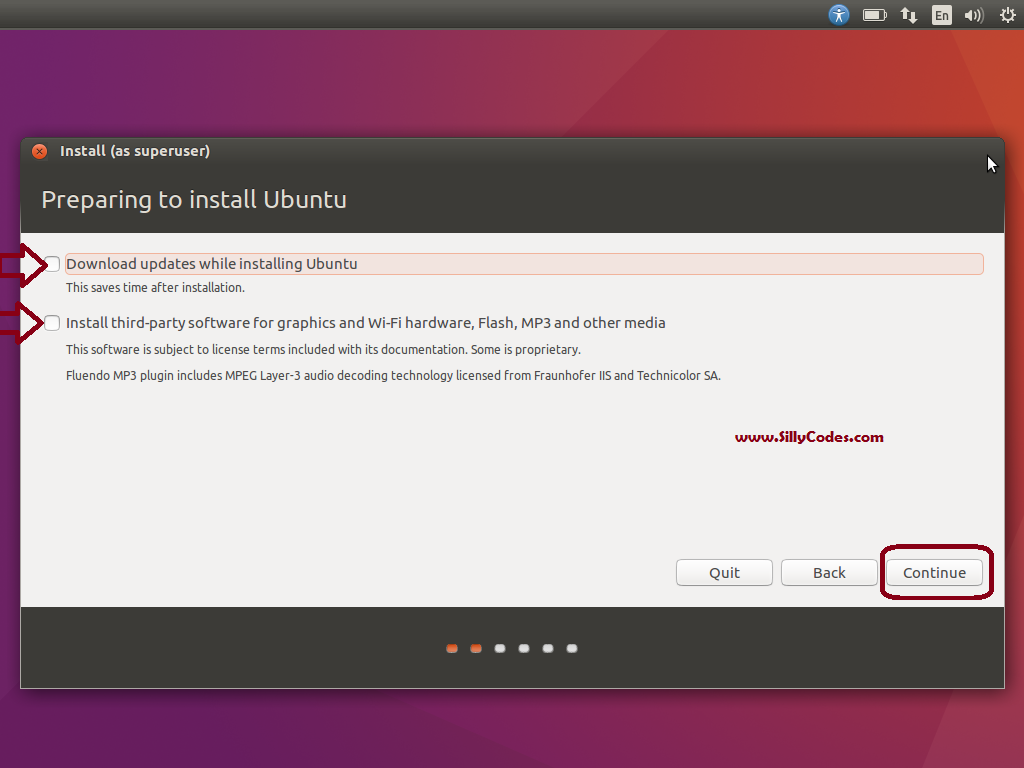
Check the download updates and third-party software options, Because we no need to install them manually after the installation. Then press the Continue.
Installation Type :
Then you will be presented with Installation type screen, It contains following options.

Here you need to choose the appropriate option because it’s going to erase all the data in the partition.
If you are Installing Ubuntu alongside Windows or Dual booting Ubuntu 16.04 and Windows 10 then Choose “Something else” option.
I am installing it on Virtual box, So I am Choosing “Erase disk and Install ubuntu” option.
Then hit Install Now.
Once you hit the install now button you will be presented with the following Write the changes to disks popup.
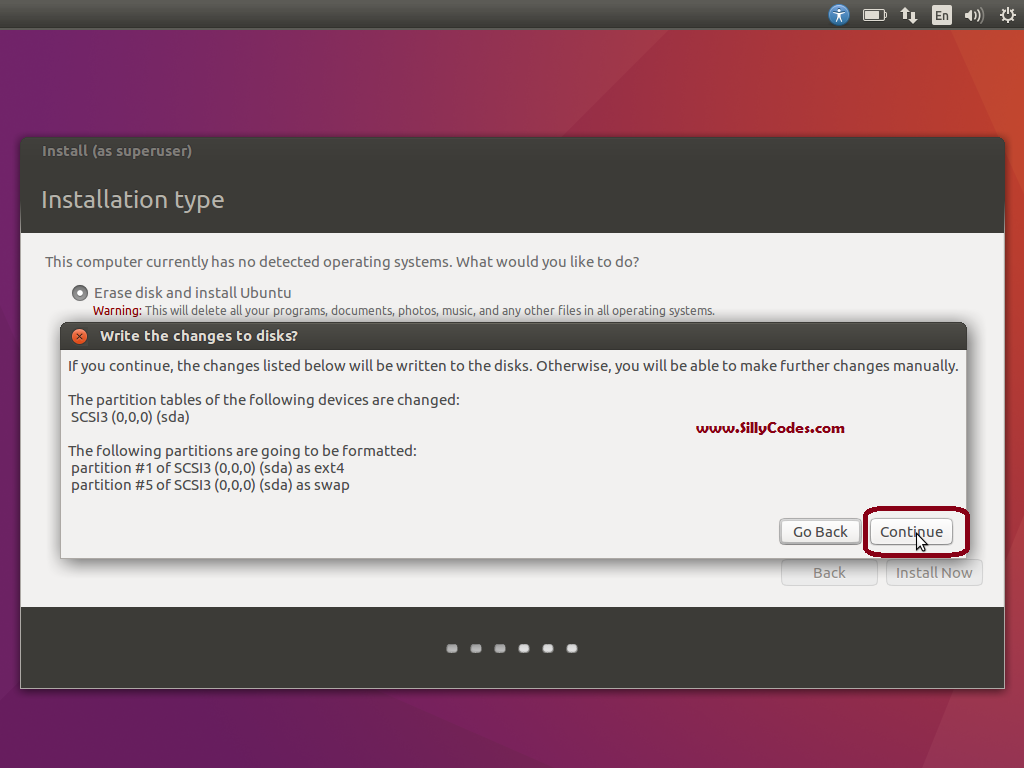
you can see ubuntu created two partitions for you, If you are not sure what is going on then press Go Back button and select the correct option in Installation Type window.
Then click on Continue button.
Select the Time Zone :

Select your timezone, I am in India so choosing Kolkata time zone. Then click on Continue.
Keyboard Layout:
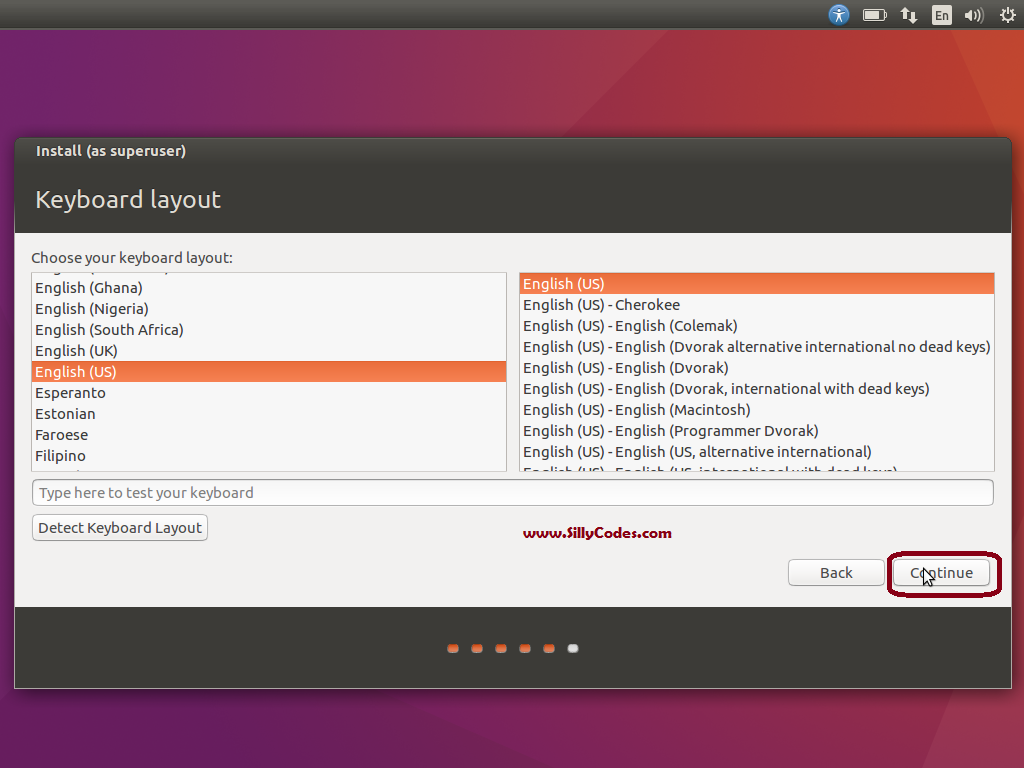
Select the desired Keyboard Layout and Hit the Continue button.
Set Username and Password and Hostname :

Pick one Usernameand Specify Password and Hostname for your computer. Please note down this password we need to enter this password to login to the system (Because we are selecting “Require my password to log in” Option).
Then Click on Continue.
Installation in progress :
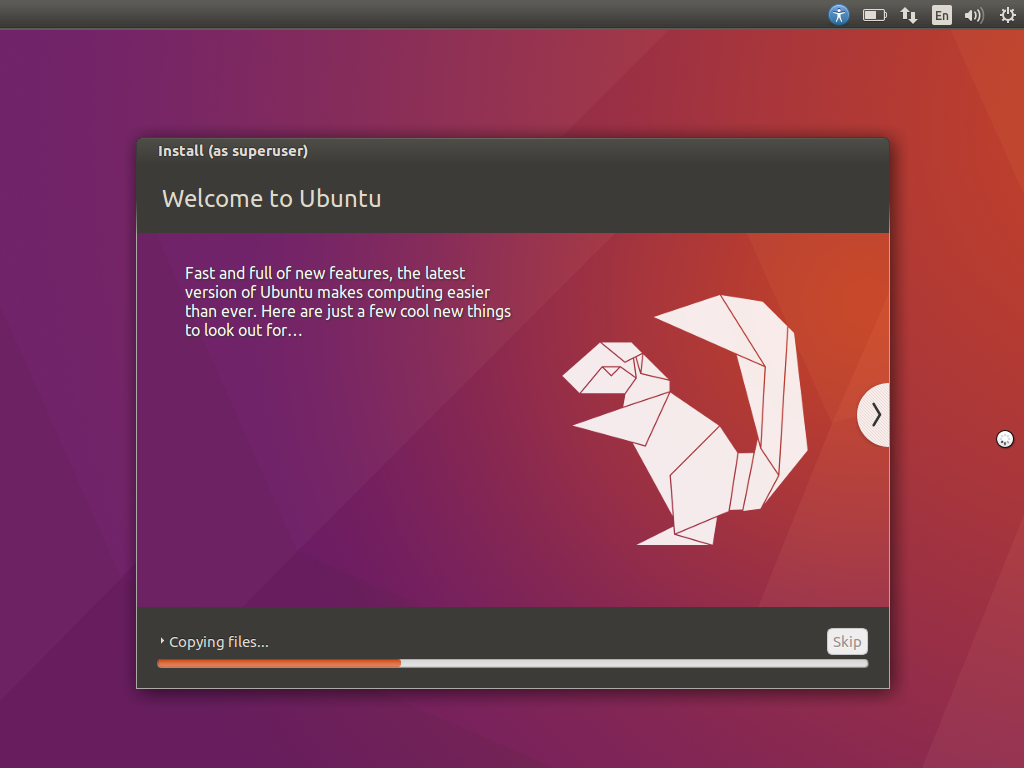

Now the Installation process will continue with copying the files and do all the necessary things. It will take good amount of time depending on your Internet Connection and your computer.
You can also see all cool features of Ubuntu 16.04 on the slide show.
Installation Complete:

Click on Restart Now button.
Login to the New Ubuntu 16.04 System :

Log into the system using the Username and Password that you created during the Installation. Then Press the Enter key.
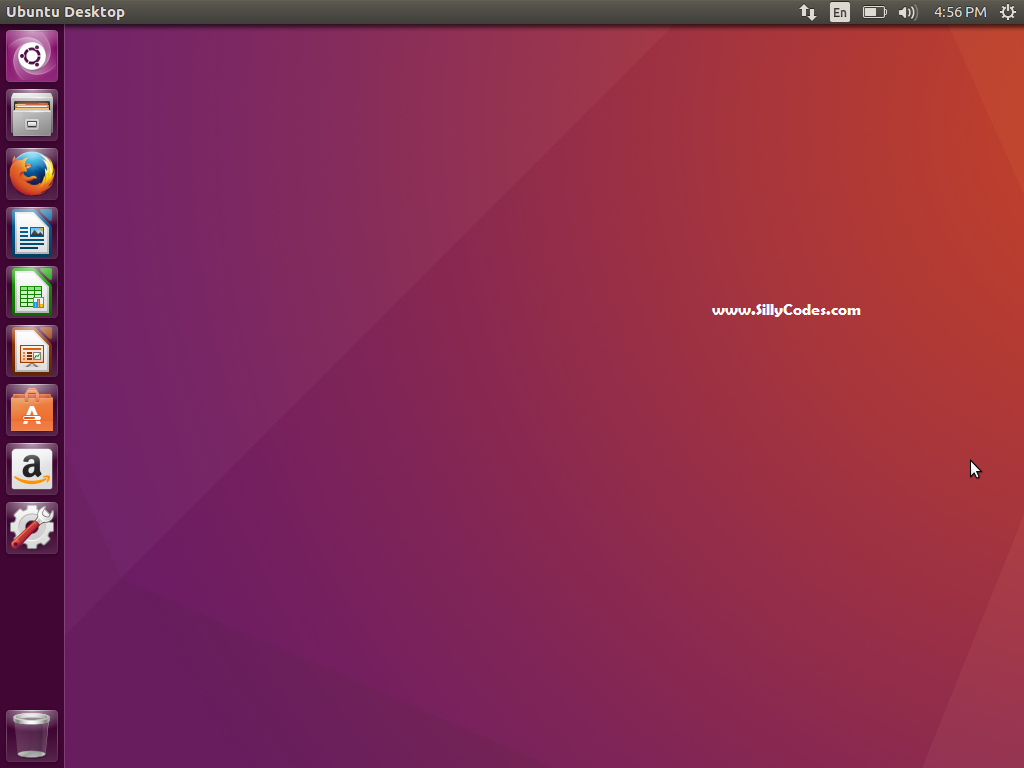
Now you can see the System Specifications and Operating System version using about system from system settings option.

Congratulations, You are successfully Installed Ubuntu 16.04 LTS.
If already have Ubuntu 14.04 and Wants it to upgrade to Ubuntu 16.04 Then follow the below link.


2 Responses
[…] Step by Step guide to installing ubuntu 16.04 LTS Upgrading Ubuntu 14.04 to 16.04 LTS. Troubleshooting Ubuntu 16.04 LTS Wi-Fi problems. […]
[…] Follow below Article to Install the Ubuntu 16.04 LTS. Step by Step guide to Install Ubuntu 16.04 LTS. […]